Red Cabbage Microgreens Ultimate Growing Guide
Disclosure: This post may contain affiliate links, meaning I get a commission if you decide to make a purchase through my links, at no cost to you.
Want a microgreen that packs an amazing phytochemical punch with a mild taste? You have got to try red cabbage microgreens!
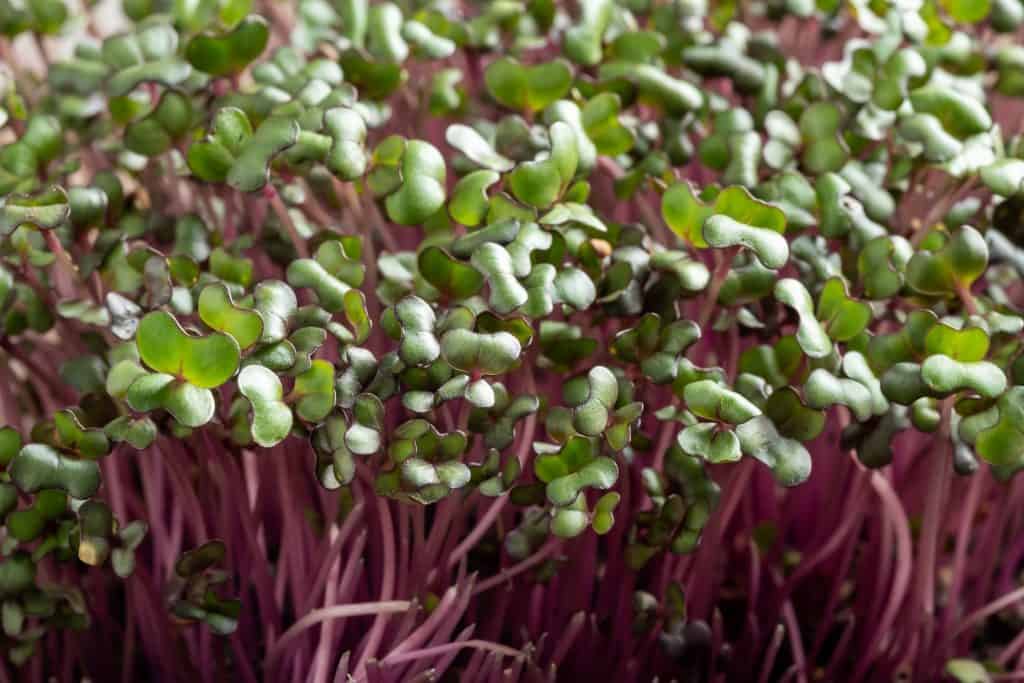
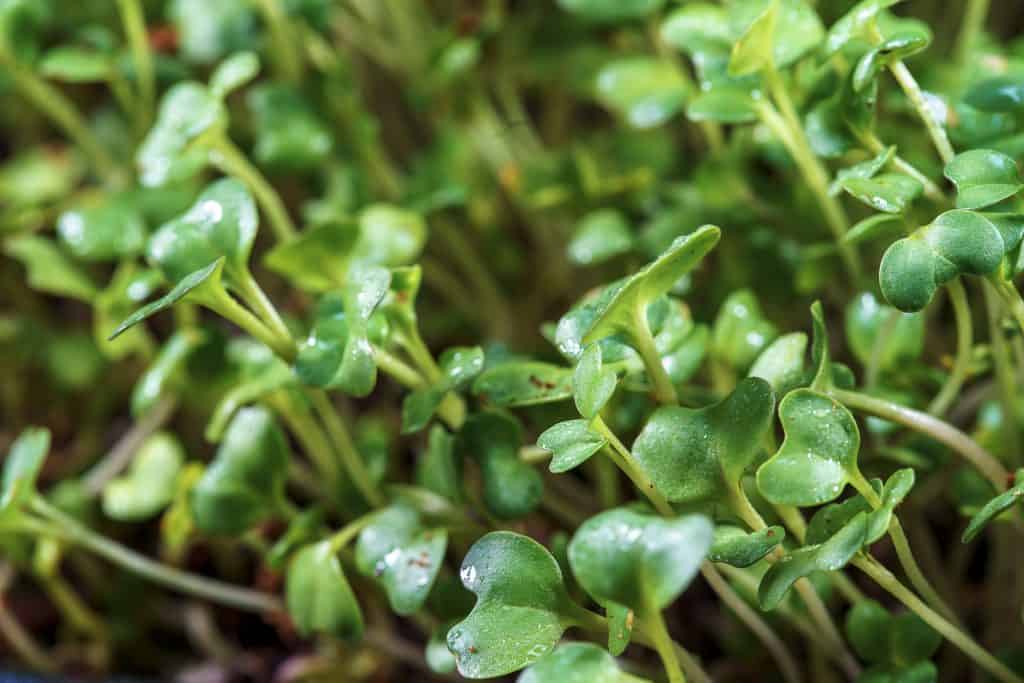
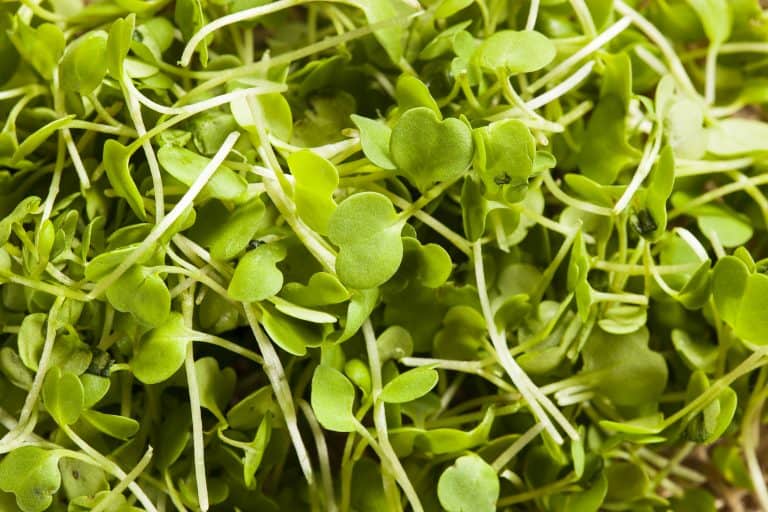
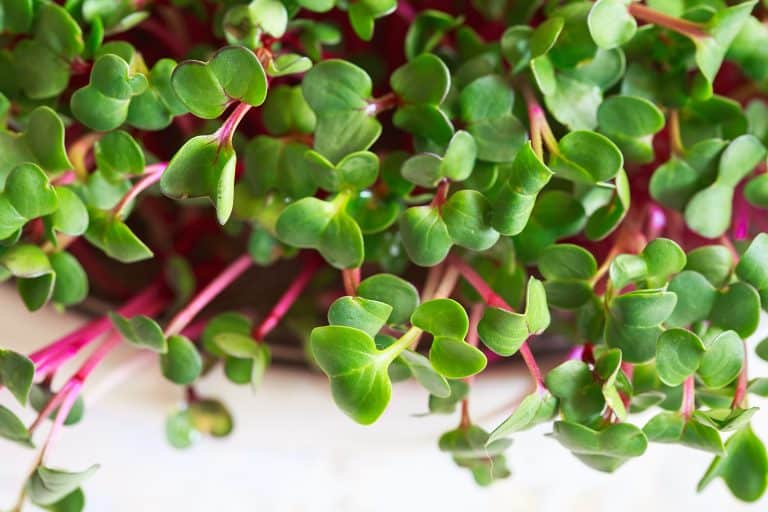
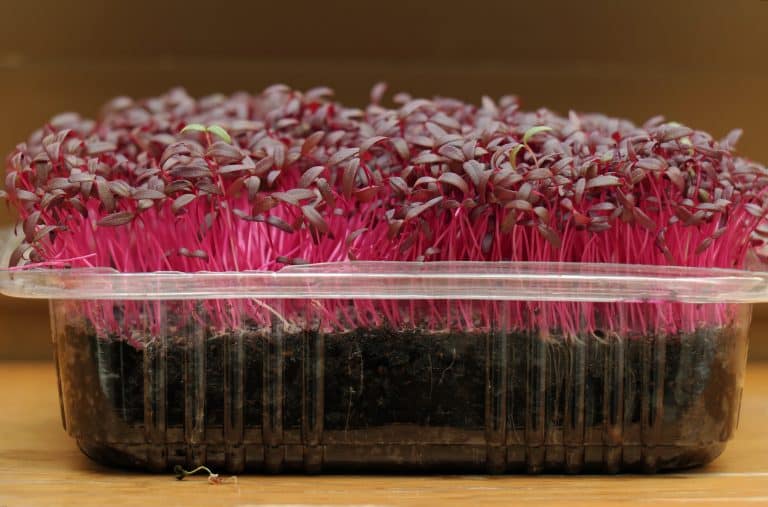
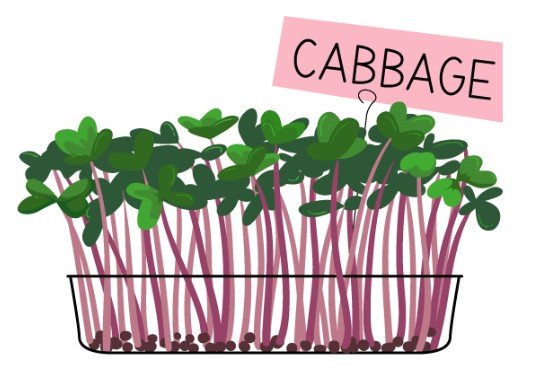
Red cabbage microgreens are one of the most popular microgreens, grown for their beautiful red stems and green leaves, as well as their abundant nutrient benefits.
Fresh microgreens are very easy to grow, so they are a great choice for those who are newer to the world of gardening. These little plants can be grown in a matter of days just about anywhere, making them the perfect food for those short of space.
Red Cabbage Microgreens Profile
Flavor: Sweet, mild cabbage flavor
Texture: Fresh, crunchy
Presoak: No
Soak: No
Rinse/Drain: No
Germination: 2-3 Days
Harvest: 6-14 Days
Difficulty Level: Easy
What are the Health Benefits of Red Cabbage Microgreens?
Red cabbage microgreens are made up of 20-25% protein and are low in fat, calories and carbohydrates.
Each serving is also high in Vitamins A, C, E, K as well as the B complex (thiamin, niacin, folate, etc) as well as minerals like calcium, iron, magnesium, phosphorus, potassium, and they also are packed with phytochemicals.
Most all microgreens contain these nutrients, but here is where red cabbage really shines.
Studies suggest that red cabbage can help reduce the risk of cardiovascular disease. Prior studies looked at mature red cabbage consumption and its affect on LDL, and the microgreen version of this vegetable contains more nutrients than mature cabbage.
There is also evidence that the glucosinolates in red cabbage (and especially the microgreens) are cancer preventative, so load up on these tiny power houses.
Cabbage is also high in sulforaphane since it is in the brassica family along with broccoli, brussels sprouts and kale. Sulforaphane can also help reduce cancer risk, neutralize toxins in the body and help protect your DNA!
Finally, they are a rich source of anthocyanins due to their rich color, which help fight cardiovascular disease and cancer, and also help to enhance memory and help prevent age-related cognitive decline.
In fact, because of this vibrant color, red cabbage is much healthier for you than regular green cabbage, so give this tiny micro a try.
Growing Tips and Tricks for Growing Perfect Red Cabbage Microgreens
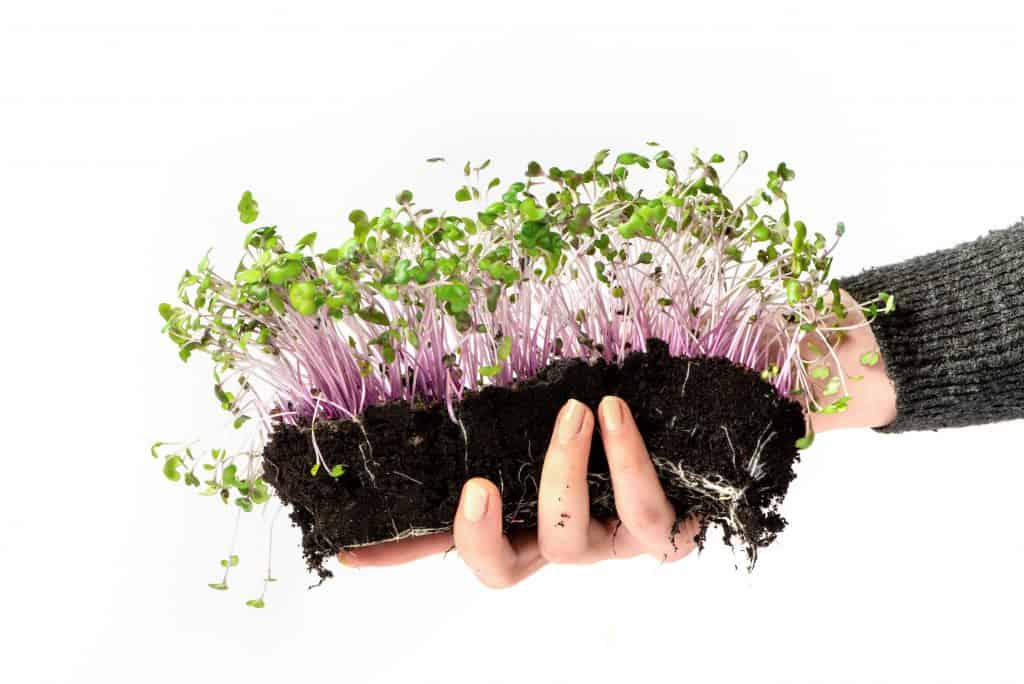
Keep in mind that this is different from growing red cabbage sprouts. Sprouts are grow without soil and eaten at a much earlier stage, seed and all, whereas microgreens are allowed to grow in soil or on mats until they get their seed leaves, and often until the first true leaves begin to appear.
1. Pick the right soil. There are many types of soil you can grow your microgreens in, but it is not recommended to use soil from outside due to bugs and the possibility of bringing in mold or fungus. If you prefer not to have messy soil inside, red cabbage microgreens are good candidates for growing on jute mats since they don’t need a deep growing medium.
2. Once the seeds sprout, you need to water the cabbage from the bottom to prevent mold. A lot of microgreens can be sprayed with water, but you will want to avoid that with cabbage as it can cause dampening off.
3. Red cabbage needs a few days in the dark to germinate, and prefers temps around 60-70 degrees F while it germinates.
Growing Red Cabbage Microgreens (Step by Step)
Supplies You Need to Grow Red Cabbage Greens
Seeds
Seeds are the first thing you will need to grow your micro greens. Without them, you won’t be able to grow anything!
The best type of seeds to buy for growing micro red cabbage are seeds specifically labeled microgreen seed or other organic red cabbage seed. Make sure the seeds are free from chemicals.
One popular variety is red acre cabbage.
Best Microgreens Seeds:
Container
You will need some type of container for growing your seeds in.
The right container for this type of seed is only an inch or two deep, depending upon how long you plan to grow your microgreens. If you are going to harvest at the early stage of 6-14 days, one inch is sufficient. Go for 2 inches if you plan on growing them longer.
There are a million different containers that are of this depth, and all can work as long as there is ample drainage. If you don’t allow drainage you will find that the water just pools in the container and can rot the roots, so be sure to choose a container that can drain.
You also need to ensure that your container is durable and food-safe, so be sure not to use pressure treated wood or another material that could make the greens unsafe to eat.
Remember that this type of microgreen needs to be watered from the bottom, so it might be good to invest in a system that has holes in the growing container and then a separate watering tray.
If you want to buy some durable, safe containers, here are my recommendations:
Soil
The right soil is the next key to growing great microgreens. If you’re growing some greens outdoors, pretty much any soil will do. But most people grow microgreens indoors, which is a big part of the appeal of these mini greens.
You want the soil you choose to have great nutrients for your baby greens. Indoor potting soil is going to be the best choice for this. This is because they are safe to use indoors (no fungus, bugs, or molds!), they allow for ample drainage but still retain moisture for baby roots, and they allow for air pockets in the soil. Choose organic soil if possible.
You can also grow red cabbage microgreens in half potting mix and half coconut coir. This growing medium is made from – you guessed it! – coconut! Specifically the husk of the coconut fruit.
Recommended Soils for Microgreens:
Soaking
Soaking the seeds is an important step in certain types of microgreens, such as sunflower microgreens, but for cabbage you can skip this step!!
You’re ready to plant!
Planting
Growing red cabbage microgreens is pretty easy as long as you keep the above tips in mind.
First, you will want to fill your growing tray with a thin layer of soil. It doesn’t really matter what type of soil you are using as mentioned above. Just ensure that it’s clean and made for using indoors (preferably).
Moisten the soil, then add your seeds. You want to completely cover the top of your soil with seeds, making sure there aren’t any stacked on top of each other. Just scatter them on the soil surface.
You really don’t need to cover your seeds with soil, so you can leave them on the soil surface. The seeds do need dark to germinate, so place them somewhere dark for around 2-3 days. During this time try to keep the seeds around 60-70 degrees F and keep the soil moist.
I know, it seems weird to put the plants out of the sunlight since you want them to grow, but plants actually need dark to germinate. Think about it, they are usually deep in the ground, not in direct sunlight when they are planted.
I check mine on the third day to see how they are germinating. Usually always I will see that most all of the seeds have “woken up” and are sprouting.
The seedlings are ready for light after this dark period. All seedlings need sunlight (or a grow light) on those new baby green leaves to grow, so make sure to move them into the sun or a grow light after they develop their first seed leaves.
Many growers recommend a grow light for these baby greens to encourage them to grow straight up, but I find that growing mine in a sunny windowsill works well for most microgreens. When they start to lean toward the light I rotate the tray and it works well for us at home.
Growing/Watering
You want to keep the soil in the container slightly damp, but not soggy. Remember to water from the bottom once they have sprouted and it is very important to keep the soil moist for this green.
Be sure not to overwater. This is another early mistake I made! You only want to water enough for the soil to be damp, not wet. You can rot your plants this way (yep, been there) and can also grow fungus on the plants.
Harvesting
The ideal harvest time is 6-14 days after planting. The flavor of these greens changes rapidly, so try them at different stages to see what your preference is.
You want your sprouting cabbage seeds to have developed two big leaves (the cotyledon), known as seed leaves and the true leaves just beginning to emerge. Once the true leaves come in the cabbage takes on a different flavor that some think is bitter, so use early unless you like that flavor.
To harvest, use a small, sharp pair of scissors to cut the seedlings off about half an inch above the soil line. This green is so delicate that you should be very cautious about getting soil on the plants and try not to wash them unless you have to, as it is very hard to dry them.
Harvest as many as you want to use and leave the rest to harvest later. I find that this works better than harvesting them all at once and storing them in the fridge.
Storing
While these are best eaten directly after harvest, you can store them in a ziptop bag in the refrigerator. If you grow more than one type of green, I recommend labeling your bag with the type and date of harvest.
Try not to water the greens 12 hours before harvest if you are going to store them, and don’t wash them until you are ready to use them. Moisture is their enemy when storing, so keep them as dry as possible.
Preferably, you will want to gently fold them in a paper towel and then place in a ziptop bag. These greens will actually store well for a couple of days, maybe longer if you don’t allow moisture to gather in the bag.
Once cut, an cabbage sprout will not regrow, so you will need to compost the soil that the roots are left in. Some people reuse the soil, but I have not had much success with this. Since so little soil is used anyway, it makes sense to just compost and start with new.
Can you Grow Red Cabbage Microgreens Without Soil?
This is a very common question and the answer is YES. Some microgreens, such as amaranth, don’t do well on mats, but cabbage can be grown this way as it is a shorter type microgreen.
To grow these greens without soil, you will need the same supplies as above, but without the soil. Instead, you will need a jute or hemp mat.
If using a jute mat, place it in your growing container and place the seeds on top of it. Keep it moist and the seeds will put down roots into the mat.
Water from the bottom as above and harvest at the same time as the soil-grown counterparts.
A lot of sources recommend growing with soil and I also prefer this method.
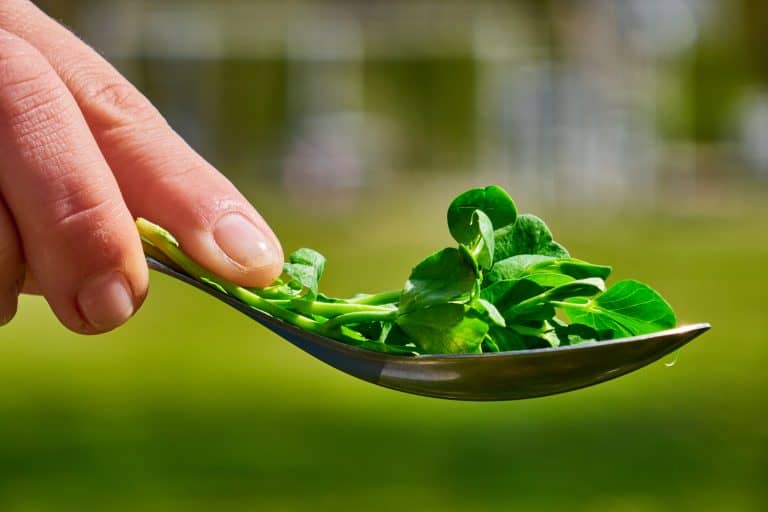
How do You Eat Red Cabbage Microgreens?
These amazing little fresh greens are best consumed raw or added to the end of the cooking process to retain their texture and delicate nutrients.
These are amazing in a microgreen salad or as a lettuce replacement for a sandwich or burger.
Microgreens are also a wonderful garnish for almost any dish. I love to sprinkle some on top of stir fry and soup for an extra nutritional punch.
You can even snip and eat them straight from the growing tray!
Common Problems Growing Microgreens
We are going to assume that you are growing your greens indoors and address some common problems you might encounter when growing cabbage microgreens.
1. Mold, Mildew or Fungus
This is by far the most common problem with growing microgreens.
Too much moisture is one of the main culprits when it comes to mold, mildew or fungus. These types of things love soggy conditions, so be sure not to overwater and get soggy soil. Be sure to allow ample drainage so this doesn’t happen.
Keep an eye on your humidity as well, as too much can also cause plants to rot. So if you make a mini “greenhouse” out of plastic, make sure the plants get some air.
Mold, mildew or fungus can also happen to cabbage microgreens when sprayed or misted with water. Remember to only water from the bottom once the leaves begin to appear.
2. Seeds are Slow to Germinate
It’s so disappointing to check on your greens expecting to see growth and find that nothing is happening. I’ve been there! However, there are a few things you can do to help in this situation.
First, ensure that you did not flood your seeds. Leaving them in a soupy soil can rot them before they’ve even had a chance to sprout, so ensure that the soil is moist, but never wet.
Finally, make sure you bought quality seeds. Seeds from different companies will have different germination and growth rates, so be careful when picking out your seeds.
4. Plants fall over and lie to side
If you see this happening, it is usually a sign of underwatering. Give the plants a good drink and they should perk up in a few hours.
Common Questions about Red Cabbage Microgreens
Yes! The microgreens have more nutrients than the mature vegetable. Studies have proven that microgreens can contain up to 40 times the amount of nutrients than their mature counterparts.
The taste of this microgreen is similar to its full-grown counterpart, but it is described as sweet with a milder flavor.
No, since the leaves of these plants are cut off, the cabbage microgreen will not regrow. It is best to compost the soil and start anew.
There are many ways to eat these healthy little greens. Some mentioned above are in salads, pasta dishes, pizza, sandwiches or wraps, and even in soup.
Microgreens are also wonderful plants to grow for profit! You can have a healthy side business selling these greens to local businesses.