Amaranth Microgreens Ultimate Growing Guide
Disclosure: This post may contain affiliate links, meaning I get a commission if you decide to make a purchase through my links, at no cost to you.
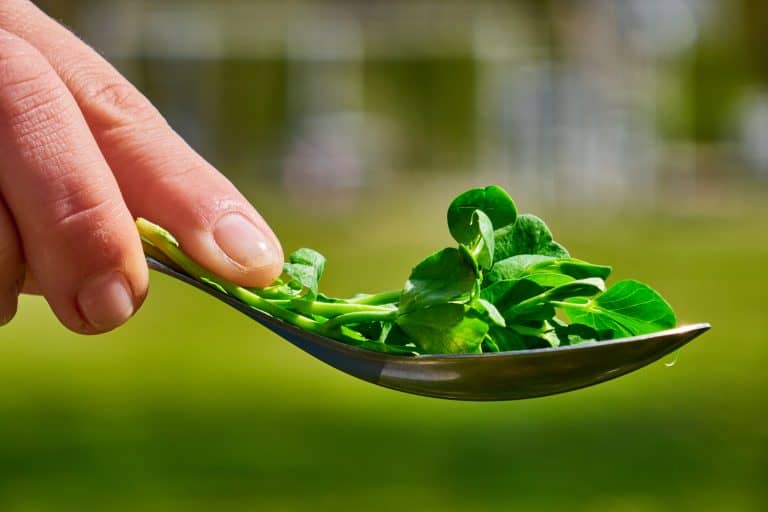
Want a microgreen that packs an amazing antioxidant punch with a mild taste? You have got to try these vivid amaranth microgreens!
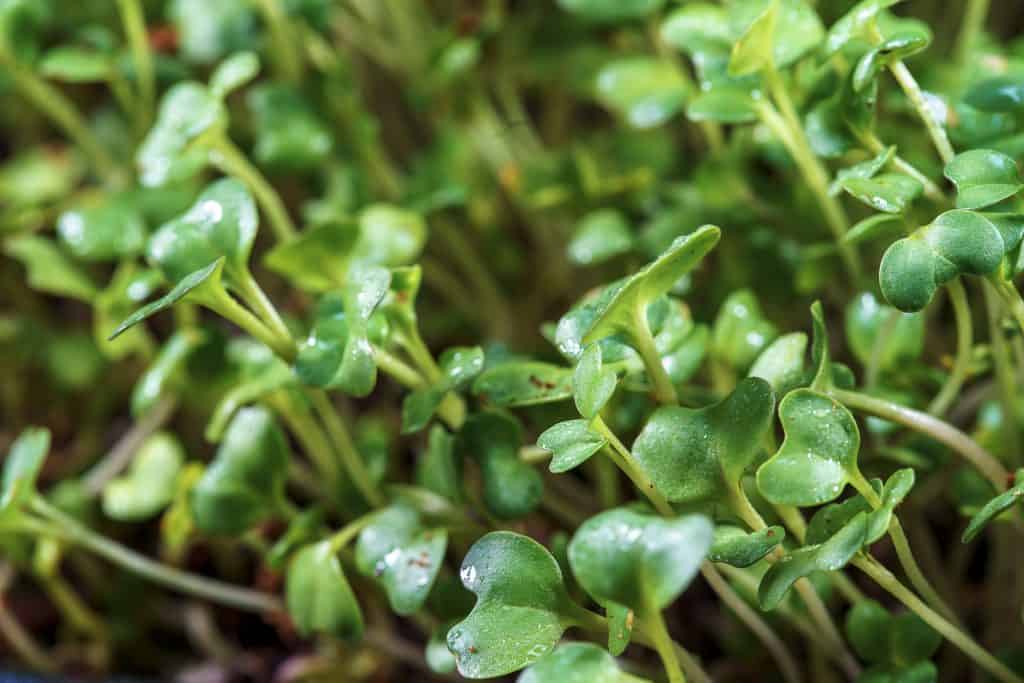
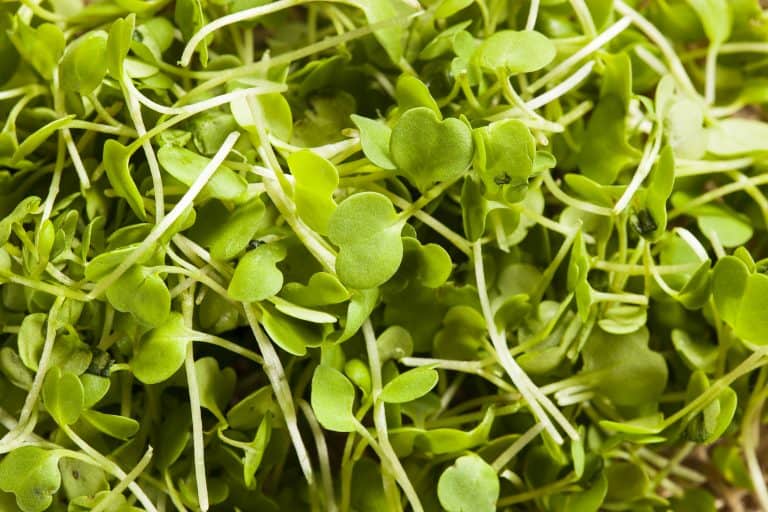
Amaranth microgreens are one of the lesser known microgreens but they are one that is really worth growing. They are a delicious addition to salads and as garnishes on a variety of dishes. Plus, they are soooo good for you and packed with antioxidants due to their unique color!
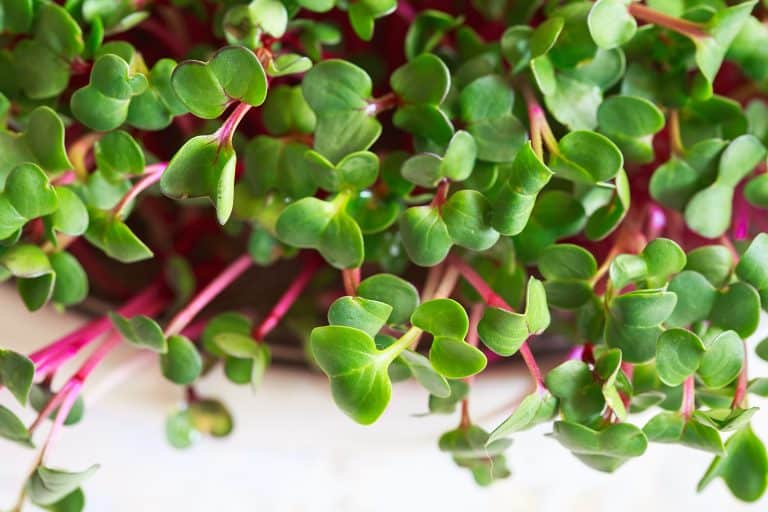
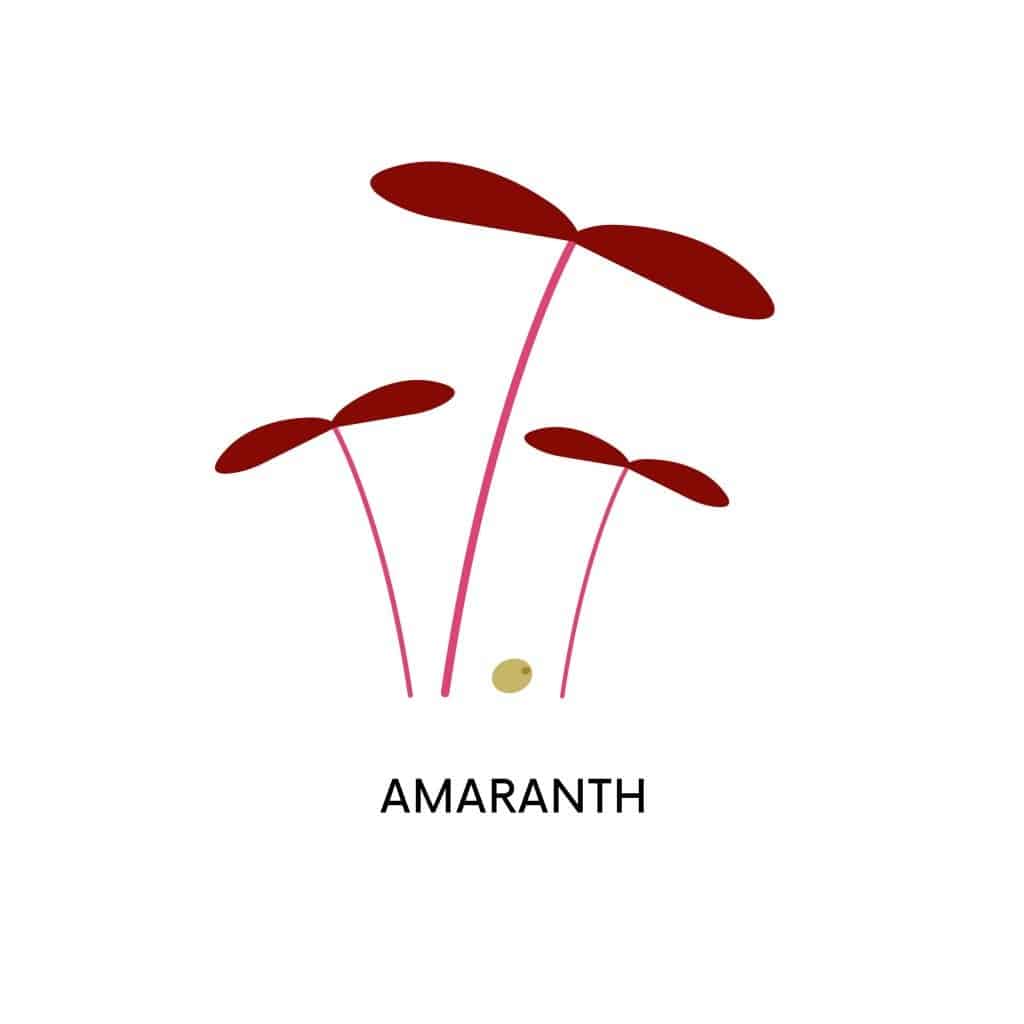
There are around 70 varieties of amaranth but only a handful are grown for food. These can be purple, red, green or gold but the most common variety grown for microgreens is a very pretty red.
What is Amaranth?
You may be familiar with amaranth as a seed, and it is commonly eaten as a grain. It’s popular among the gluten free crowd as a protein packed alternative for breakfast cereal and other bread-type products.
The seed of the amaranth is similar to quinoa in that it is small and circular, and also has a high protein content like quinoa. The seeds can be boiled or popped, ground into flour and many other uses.
Amaranth Microgreens Profile
Flavor: Mild and sweet
Texture: Tender, fresh
Presoak: No
Soak: None
Rinse/Drain: None
Germination: 2-3 Days
Harvest: 8-10 Days
Difficulty Level: Intermediate
Amaranth Microgreens Nutrient Profile
Serving Size: 100g
Calories: 23
Fat: 0g
Cholesterol: 0mg
Carbohydrates: 4g
Protein: 2.5g
Each serving also is also high in nutritional value of Vitamins A, C, E, K as well as folate, thiamin and niacin. They are also good sources of calcium, potassium, iron, manganese, zinc and copper and are high in antioxidants.
And these little guys have 30% more protein than rice – so give both the seeds and the microgreens a try!
Tips and Tricks for Growing Perfect Amaranth Microgreens
1. Pick the right soil. There are many types of soil you can grow your microgreens in, but it is not recommended to use soil from outside due to bugs and the possibility of bringing in mold or fungus. If you prefer not to have messy soil inside, amaranth microgreens can be grown on jute mats, too, but it can pose problems as we’ll see below.
2. Once the seeds sprout, you need to water the amaranth from the bottom to prevent mold. A lot of microgreens can be sprayed with water, but you will want to avoid that with amaranth as it can cause dampening off. This type of green is particularly susceptible to mold, which is one of the reasons it gets an intermediate difficulty level.
3. If you notice tiny white hairs on your growing sprouts, don’t fret – these are the roots! They do look a little like mold, but let them grow and you will see they are a tiny, hair-like root structure.
4. This tiny microgreen likes warmth and can benefit from a seed mat if you don’t see the germination rate you’d like or if the plants are slow growing.
5. Amaranth can be sensitive to too much direct sunlight, so unlike other greens that need a lot of light keep your eye on how much direct light your greens receive.
Growing Amaranth Microgreens (Step by Step)
Supplies You Need to Grow Amaranth Greens
Seeds
Seeds are the first thing you will need to grow your micro greens. Without them, you won’t be able to grow anything!
The best type of seeds to buy for growing amaranth micros are seeds specifically labeled microgreen seeds or other organic amaranth seeds. There are a few varieties of amaranth and they all make good microgreens. Let’s look at a the most popular ones.
Best Types of Amaranth Seed for Microgreens:
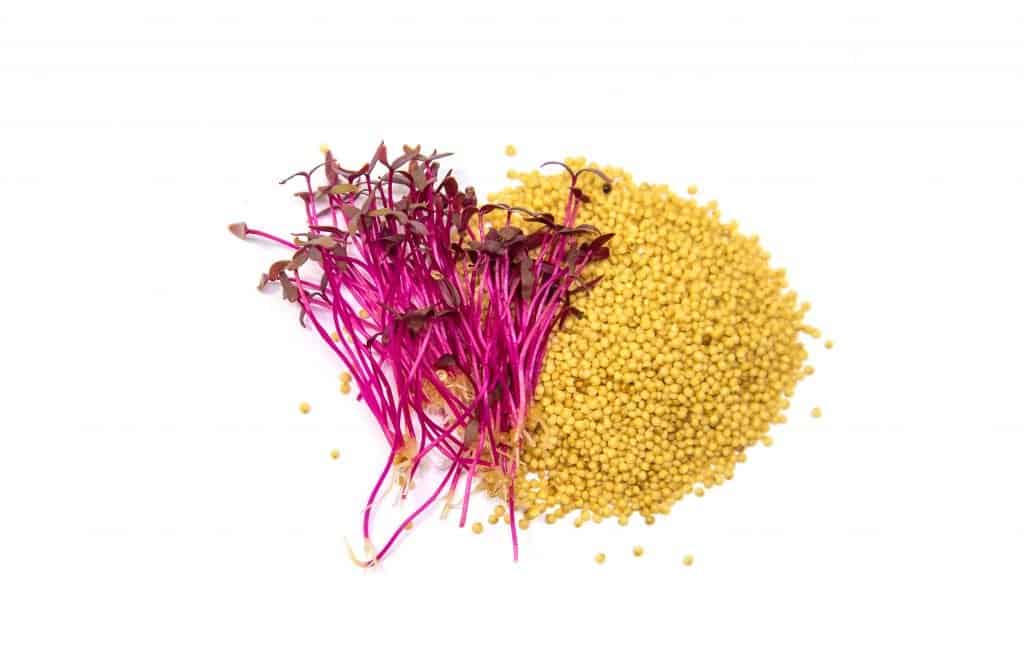
Red Garnet Amaranth Microgreen
Container
You will need some type of container for growing your seeds in. Amaranth puts down deeper roots than some microgreens, so look for a bit deeper container than for other greens.
The right container for this type of seed is about 2-3 inches deep. This gives the amaranth room to grow its roots deep.
There are a million different containers that are of this depth, and all can work as long as there is ample drainage. If you don’t allow drainage you will find that the water just pools in the container and can rot the roots, so be sure to choose a container that can drain.
You also need to ensure that your container is durable and food-safe, so be sure not to use pressure treated wood or another material that could make the greens unsafe to eat.
Remember that this type of microgreen needs to be watered from the bottom, so it might be good to invest in a system that has holes in the growing container and then a separate watering tray.
If you want to buy some durable, safe containers, here are my recommendations:
Soil
The right soil is the next key to growing great microgreens. If you’re growing some greens outdoors, pretty much any soil will do. But most people grow microgreens indoors, which is a big part of the appeal of these mini greens.
You want the soil you choose to have great nutrients for your baby greens. Indoor potting soil is going to be the best choice for this. This is because they are safe to use indoors (no fungus, bugs, or molds!), they allow for ample drainage but still retain moisture for baby roots, and they allow for air pockets in the soil. Choose organic soil if possible.
It is good to grow amaranth microgreens in half potting mix and half coconut coir. This growing medium is made from – you guessed it! – coconut! Specifically the husk of the coconut fruit.
Recommended Soils for Amaranth Microgreens:
Soaking
Soaking the seeds is an important step in certain types of microgreens, such as sunflower microgreens, but for amaranth you can skip this step!!
You’re ready to plant!
Planting
Growing amaranth microgreens is pretty easy as long as you keep the above tips in mind.
First, you will want to fill your soil almost to the top of the growing tray. It doesn’t really matter what type of soil you are using as mentioned above. Just ensure that it’s clean and made for using indoors (preferably).
Moisten the soil, then add your seeds. You want to completely cover the top of your soil with seeds, making sure there aren’t any stacked on top of each other. Just scatter them on the soil surface.
You really don’t need to cover your seeds, so you can leave them on the soil surface. The seeds do need dark to germinate, so place them somewhere dark for a 2-3 days. Keep the seeds moist during this period and do not place a weight on them, as we have learned this can cause them to grow horizontally.
I know, it seems weird to put the plants out of the sunlight since you want them to grow, but plants actually need dark to germinate. Think about it, they are usually deep in the ground, not in direct sunlight when they are planted.
I check mine on the third day to see how they are germinating. Usually always I will see that most all of the seeds have “woken up” and are sprouting.
Once the seedlings are about half an inch tall and are light pink they will need light. All seedlings need sunlight (or a grow light) on those new baby green leaves to grow, so make sure to move them into the sun or a grow light after they develop their first tiny leaves, but remember that amaranth can be sensitive to too much direct light.
Growing/Watering
You want to keep the soil in the container slightly damp, but not soggy. Remember to water from the bottom once they have sprouted as this green is sensitive to fungus.
Be sure not to overwater. This is another early mistake I made! You only want to water enough for the soil to be damp, not wet. You can rot your plants this way (yep, been there) and can also grow fungus on the plants.
Some sources tell you to mist amaranth greens but since they are so prone to fungus I always bottom water mine.
Harvesting
The ideal harvest time is 8-10 days after planting. These plants are shorter than some other types of microgreens so care should be taken when harvesting.
You want your sprouting amaranth seeds to have developed two big leaves (the cotyledon), known as seed leaves and the true leaves just beginning to emerge.
To harvest, use a small, sharp pair of scissors to cut the seedlings off above the soil line. This green is so delicate that you should be very cautious about getting soil on the plants and try not to wash them unless you have to.
Harvest as many as you want to use and leave the rest to harvest later. I find that this works better than harvesting them all at once and storing them in the fridge.
Storing
While these are best eaten directly after harvest, you can store them in a ziptop bag in the refrigerator. If you grow more than one type of green, I recommend labeling your bag with the type and date of harvest.
Try not to water the greens 12 hours before harvest if you are going to store them, and don’t wash them until you are ready to use them. Moisture is their enemy when storing, so keep them as dry as possible.
Preferably, you will want to gently fold them in a paper towel and then place in a ziptop bag. These greens will actually store well for around a week, maybe longer if you don’t allow moisture to gather in the bag.
Once cut, an amaranth sprout will not regrow, so you will need to compost the soil that the roots are left in. Some people reuse the soil, but I have not had much success with this. Since so little soil is used anyway, it makes sense to just compost and start with new.
Can you Grow Amaranth Microgreens Without Soil?
This is a very common question and the answer is yes, but with some considerations. It can take longer to grow amaranth without soil and it usually has smaller leaves due to the lack of nutrients in the soil.
To grow these greens without soil, you will need the same supplies as above, but without the soil. Instead, you will need a jute or hemp mat.
If using a jute mat, place it in your growing container and place the seeds on top of it. Keep it moist and the seeds will put down roots into the mat. The problem here is that amaranth has longer roots, so a very thin mat may not have enough depth for the roots to grow properly.
Water from the bottom as above and harvest at the same time as the soil-grown counterparts.
How do You Eat Amaranth Microgreens?
These amazing little fresh greens are best consumed raw as the tender leaves don’t do well when cooked.
They do especially well in salads or in egg dishes. You can also use them to garnish tacos and other similar items. They are not the best choice for a lettuce substitute on burgers or sandwiches because of their tender nature.
You can even snip and eat them straight from the growing tray!
Common Problems Growing Microgreens
We are going to assume that you are growing your greens indoors and address some common problems you might encounter when growing amaranth microgreens.
1. Mold, Mildew or Fungus
This is by far the most common problem with growing amaranth microgreens. Remember not to mistake the white root hairs for mold!
Too much moisture is one of the main culprits when it comes to mold, mildew or fungus. These types of things love soggy conditions, so be sure not to overwater and get soggy soil. Be sure to allow ample drainage so this doesn’t happen.
You can also get too much moisture by having your humidity too high. This is what happened to me when I didn’t take the top off of the greenhouse (okay, one of the things!). It also allowed for too much moisture and caused my plants to rot.
Mold, mildew or fungus can also happen to amaranth microgreens when sprayed or misted with water. Remember to only water from the bottom once the leaves begin to appear.
If you do start to see a bit of mold, try spraying the plants with a fine mist of food-grade hydrogen peroxide.
2. Yellow, “Leggy” Stems
This is a problem I used to have with all of my seedlings and it took me a long time for me to figure out why it was happening!
Most microgreens will be yellow in appearance when they first emerge from their seeds, but once the young plants get some light they should turn green. Amaranth should turn a nice pink to red color.
If you find that your seedlings are staying yellow and they are getting tall and “leggy”, the problem usually is that they are not getting enough sun.
Some people have found that amaranth microgreens do better under a nice grow light or even a fluorescent light, so experiment and see what does best for you.
3. Seeds are Slow to Germinate
It’s so disappointing to check on your greens expecting to see growth and find that nothing is happening. I’ve been there! However, there are a few things you can do to help in this situation.
First, ensure that you did not flood your seeds. Leaving them in a soupy soil can rot them before they’ve even had a chance to sprout, so ensure that the soil is moist, but never wet.
You can use a seed mat to speed up the germination process. It helps warm up the soil to encourage the seeds to sprout.
Finally, make sure you bought quality seeds. Seeds from different companies will have different germination and growth rates, so be careful when picking out your seeds.
4. Plants fall over and lie to side
If you see this happening, it is usually a sign of underwatering. Give the plants a good drink and they should perk up in a few hours.
5. Plants grow to the side in a tangled mess.
If you place a weight on the seeds or leave the lid on too long for the dark period, you might see that your baby plants are growing horizontally instead of upright. They will form a tangled mess if this happens and they will not recover from it. This usually happens when the tender plants aren’t strong enough to push up a weight or lid so they have to grow to the side.
Common Questions about Amaranth Microgreens
These little tender greens don’t hold up well to cooking or being treated as a lettuce substitute, so it is best to use them as garnish or in salads.
It is best to eat them raw, and they can be blended into smoothies.
These are on the shorter side for microgreens and will only get to about 3″ before harvesting.
These baby greens are mild. Some varieties tend to be a bit more earthy while others are slightly sweet. They go well with either sweet or savory dishes. Some also say it is reminiscent of a mustard flavor.
Yes! The microgreens have more nutrients than the mature vegetable. Studies have proven that microgreens can contain up to 40 times the amount of nutrients than their mature counterparts.
The seeds germinate in 2-3 days and the baby greens will be ready for harvest in about 8-10 days.
What are the Health Benefits of Amaranth Microgreens?
Amaranth is also high in Vitamins A, C, E, K as well as folate, thiamin and niacin. It is also a good source of calcium, potassium, iron, manganese, zinc and copper and are high in antioxidants.
And these little guys have 30% more protein than rice – so give both the seeds and the microgreens a try!